Gravity Forms Delayed Notifications
Schedule Sending Gravity Forms Email Notifications by Period-of-Time, Specific-Date, or Form-Field from the Moment of Submission
All settings for Gravity Forms Delayed Notification are in the WordPress admin. In the left column look for Forms, and under there, Settings → Delayed Notifications.

IMPORTANT: You should have Gravity Forms installed on your site to use this plugin. The main objective of this plugin is to help you delay sending gravity form email notifications by any period of time.
Activate both Gravity Forms and our plugin, Gravity Forms Delayed Notification to start delaying your notification emails.
For installation instructions, please check this article.
Before you start delaying notification, create your form. Once that is successfully set up, go to your Form Settings and then click on Notification.
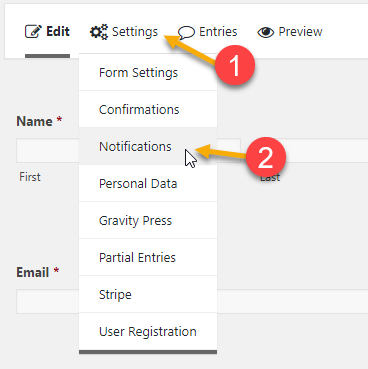
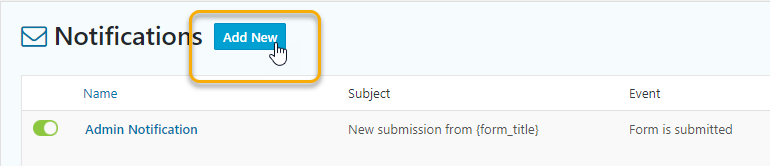
Click on “Add New” to create a new notification. After you’ve set the notification we can then proceed with using our plugin to delay your notifications.
Features
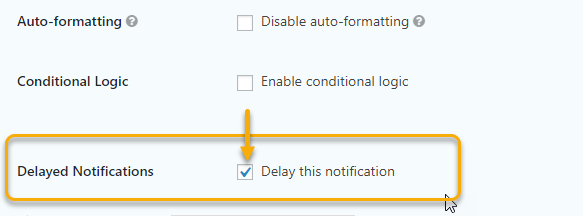
To start using our plugin, you only need to edit the notification you’ve set, scroll down to the bottom and simply check the box Delay Notifications at the bottom of your Gravity Forms notification config.
Delay from moment of submission by: Seconds, Minutes, Days, Weeks, Months, Years
Select “Period of time” as the option of delay. Proceed to type in how long you’d like to delay the notification by seconds, minutes, hours, days, weeks, months and even years.
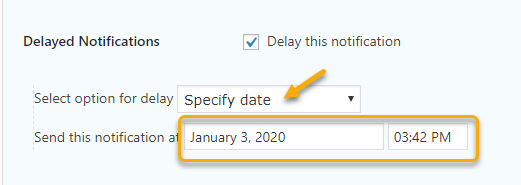
[Doppio] Schedule an email notification to go out at an exact date/time
Select “Specify Date” as the option of delay. You can then set the exact date and time on when to send the notification.
[Doppio] Schedule notifications to go out (delayed or not) based upon a Date field where your user can specify their date.
To use this feature, you need to make sure that you have added a Date field on your form. You can also add a Time field and delay your notification based on both the date and time fields.
To set this up, make sure to select “Date specified by field” as the option of delay.

You also have the option to delay the notification by seconds, minutes, hours, days, weeks, months and even years before or after the date specified by your user/s.
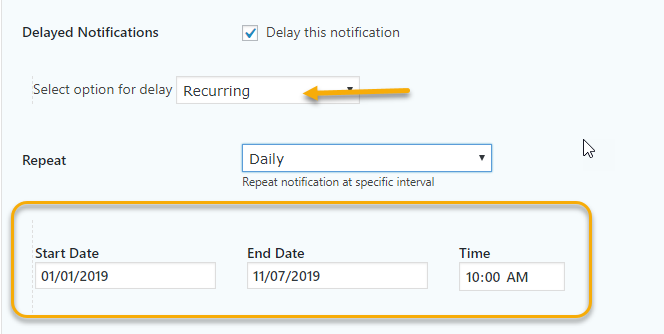
[Doppio] Send Recurring Delayed Notifications (Weekly, Monthly, Yearly, etc.)
With this feature, you can repeat notification at specific intervals. Simply select “Recurring” as the option of delay. You can optionally include a start date, end date, and a specific time you’d like the notifications to repeat for an even more fine tuned delivery sequence.
Scheduled Notifications Screen showing all pending delayed notifications scheduled for delivery
This feature is available in Solo and Doppio version.
To get to the scheduled notifications screen, simply click on Forms from your WP admin dashboard, and then select “Delayed Notifications.“
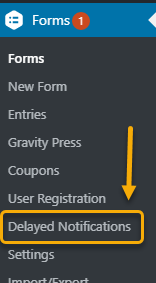
Here’s what it looks like.
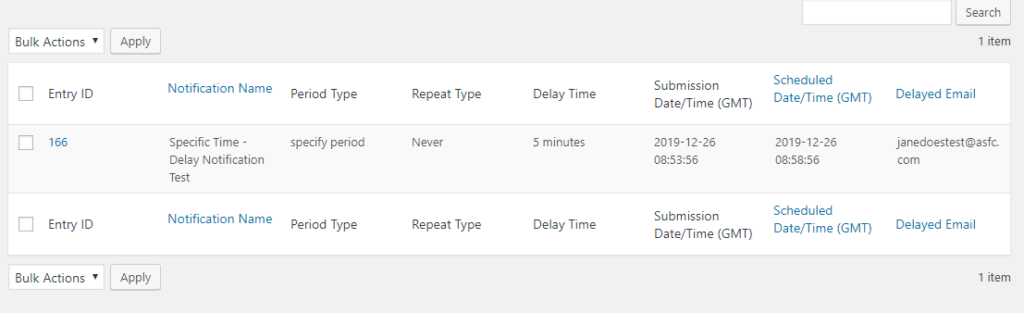
You can see all the pending notification from this screen, their period type, delay time and information on when the submission was made.
[Doppio] Delete a Scheduled notification from the Delayed Notifications screen (using single line and bulk methods)
Deleting a notification or cancelling a scheduled notification for your users is now made easier with our plugin. For instructions on how to do this, please check this article.