Video Overview
In this article, you will learn how to replicate and trigger the email notifications that need to go out to your customer using Gravity Press instead of MemberPress’s default notifications for the following events:
- welcome email
- subscription creation
- successful subscription payments
- failed subscription payments
- subscription cancellation
Step-by-Step Procedure
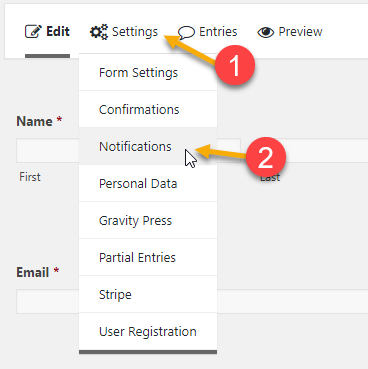
- To start, go the form that you would want to set up notifications for and then proceed with clicking on its Settings then Notification.
- By default, you will see an admin notification already set up for your form by Gravity Forms.
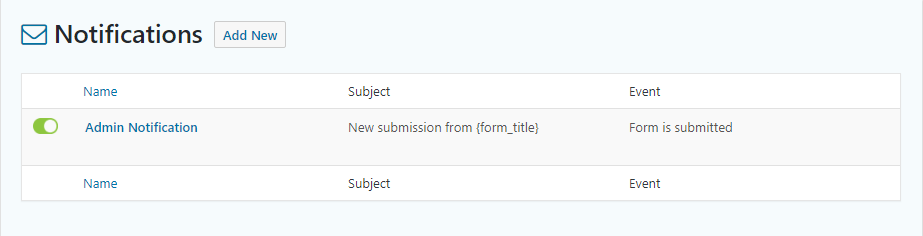
This admin notification sends out information to your set admin email about a new sign up. You may edit it if you need to.a
Set Up a New Notification
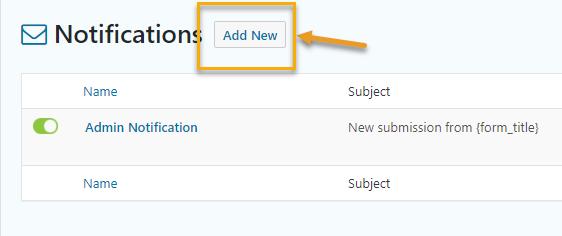
- Now, to set a new notification for your form, simply click on the Add New button on your Notification settings page. In this example, we will show how to set up a Welcome Email.
- Type in the name of your notification.
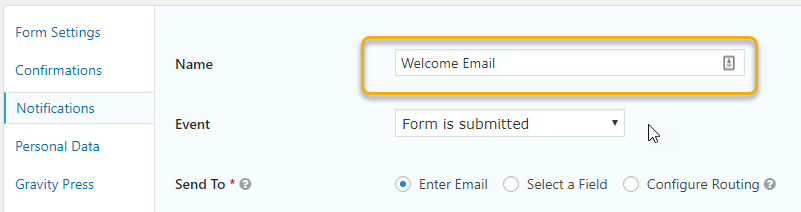
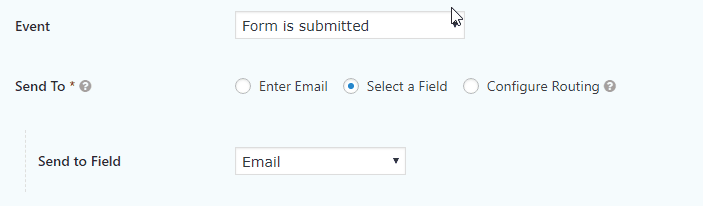
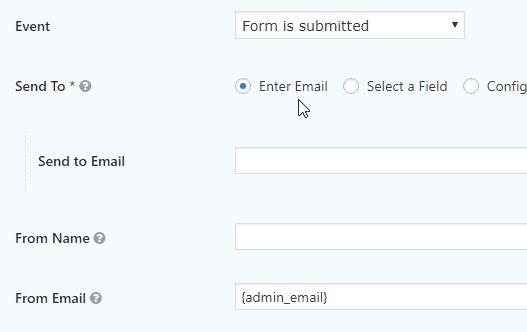
- Set up where you want to send this email to. You can enter the email on the box given below.
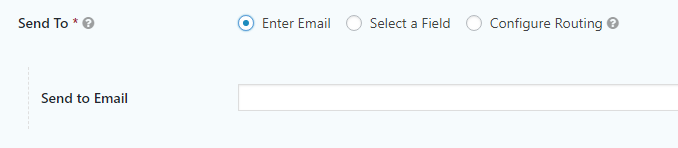
- If you want to send it to the email field of your form, you can do so by selecting the Select a Field option.
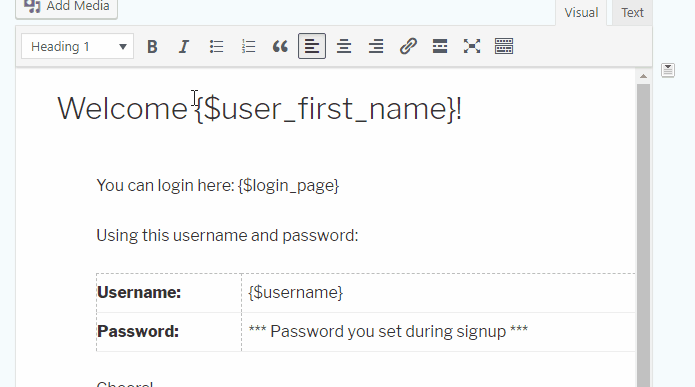
- Scroll down and then you can proceed on creating your notification email content. In this example, we will just be grabbing MemberPress’s Welcome email template.
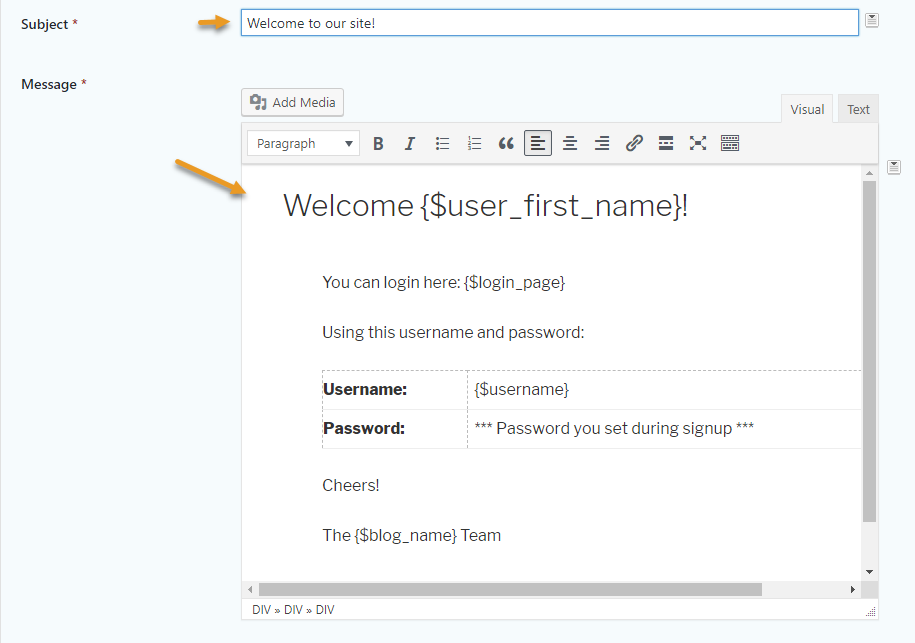
- For this example, the merge tags that can be seen below (text highlighted in green) are only exclusive to MemberPress.
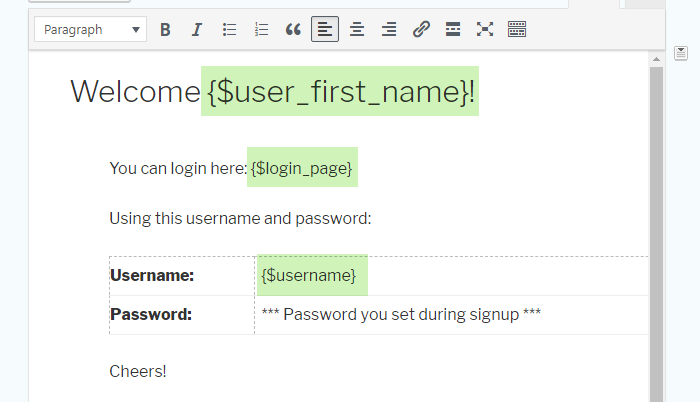
- If you’re going to use any of MemberPress’s email template, make sure that you update the merge tags to their equivalent in Gravity Forms. See gif below to learn how to do that.
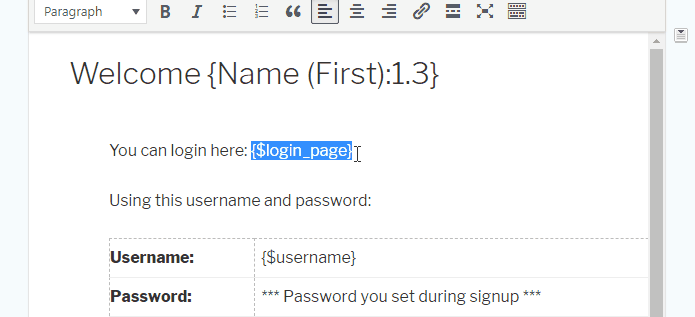
- You can do the same step for changing the username’s merge tag, but make sure to select the appropriate form field.
- For merge tags that are not available on Gravity Forms, such as the login page, you can just directly type in the exact login page URL of your site.
- If you’re satisfied with the notification email you have set up, you can proceed and click on Save Notification on the bottom of the page.

IMPORTANT NOTE: Another important field that you need to pay attention to when you create a notification email for your Gravity Forms, is the Event field. If your Gravity Form or registration form is free and you want them to get a notification email as soon as they have submitted the form, then you can leave the event as Form is submitted.

However, for registration forms that come with a fee and you want to make sure that your customers can only get the welcome email or any notification email after they have successfully made their payment, then change the event to Payment Completed.
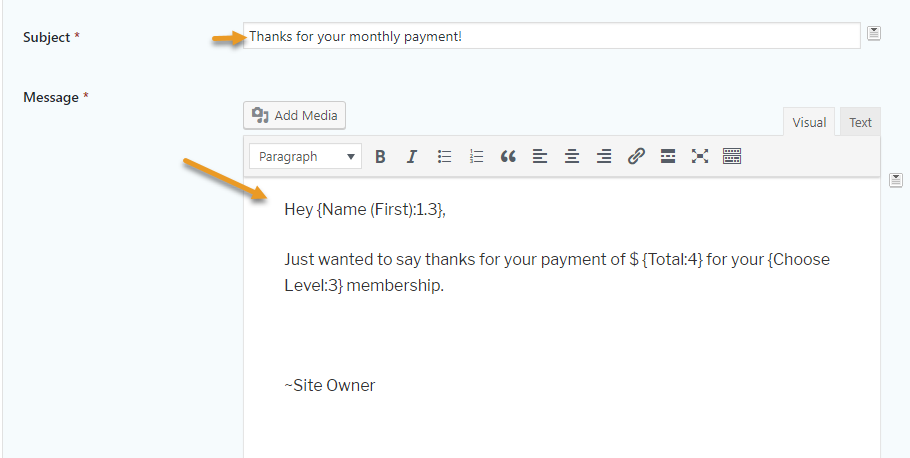
Setting Up Notification Email for Subscription Support
Gravity Press users have also asked about how to send notification emails for their clients successful recurring payments. Here’s a simple way on how to quickly set that up.
Create a new notification.

Set the event to Subscription Payment Added.
Fill in the necessary fields and then you create the message for this notification email.
You can follow these steps for setting up notifications for Failed Payments and Subscription Cancellation. Just make sure to choose the appropriate Event and create the appropriate message and subject title.