Gravity Wishlist
Combine the most robust checkout plugin with the popular Wishlist Member plugin to easily use Gravity Forms for Wishlist Member and streamline your membership process.
Video Overview
Step by Step Instructions
Make sure that both Gravity Forms and Wishlist Membership plugins are properly installed. You can only use our plugin, Gravity Wishlist, to integrate these two once they are successfully installed.
Here’s a step-by-step tutorial on how to successfully set up Gravity Wishlist for one-time-payment Wishlist membership level.
- Create your registration/signup form.
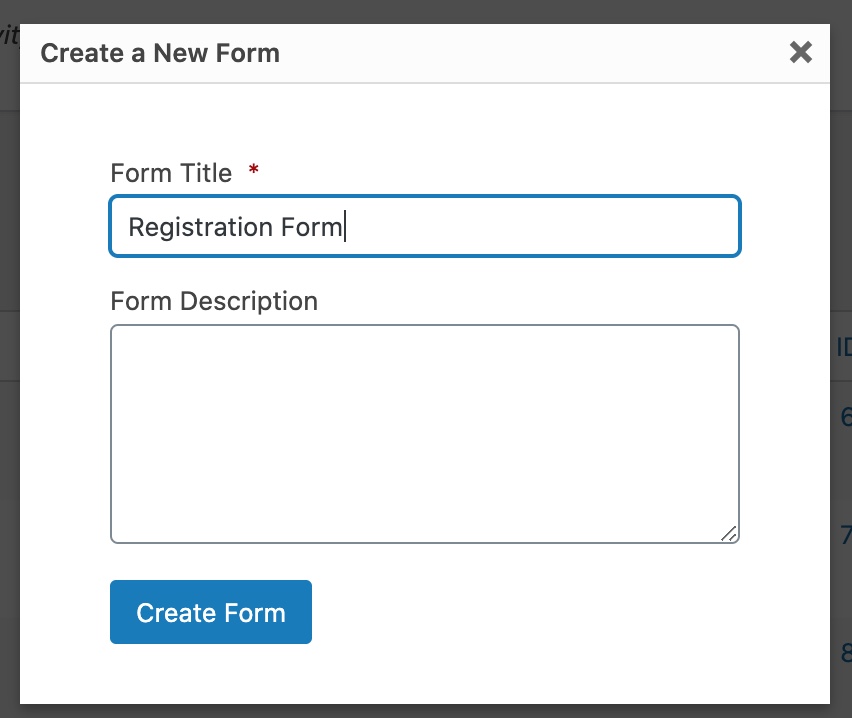
The important fields that need to be added in a simple registration Gravity form are the ff:
- Username
- Password
- Name
- Product – Below are instructions on how to properly set your Product field.
- Add the Product field and then change it from Single Product to either Drop Down or Radio Button.
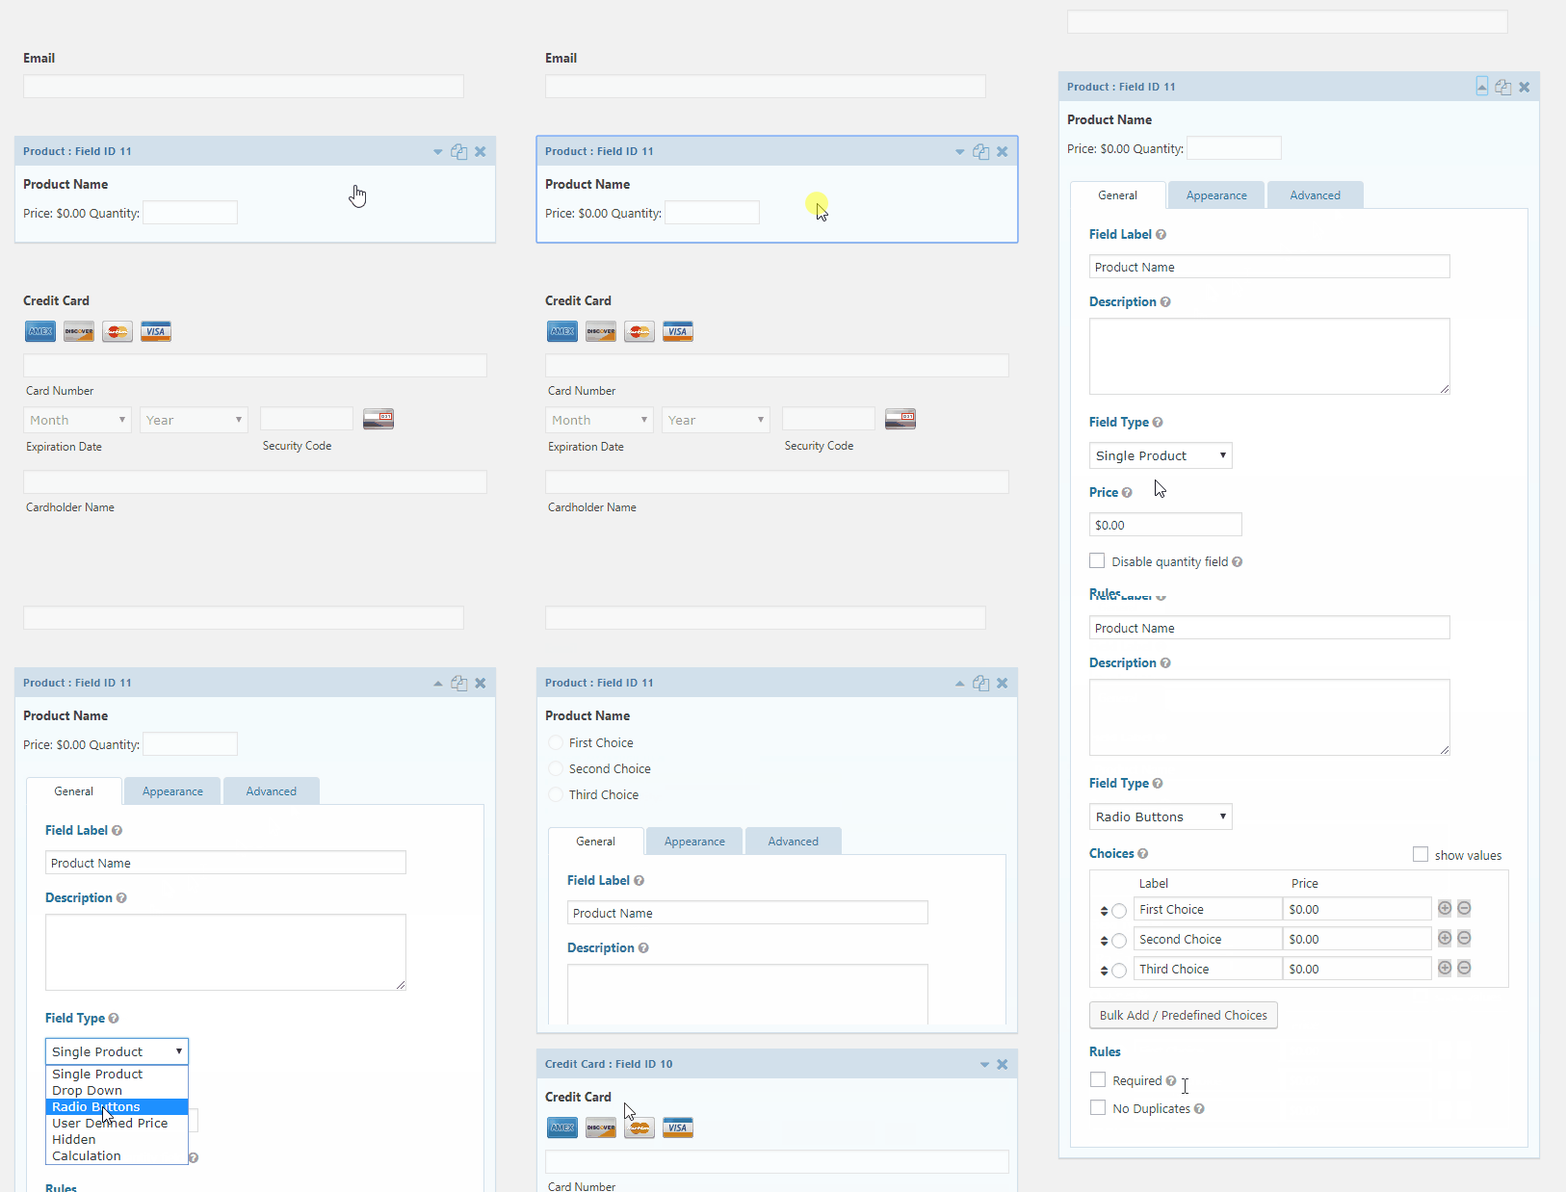
- Rename the Product field label.

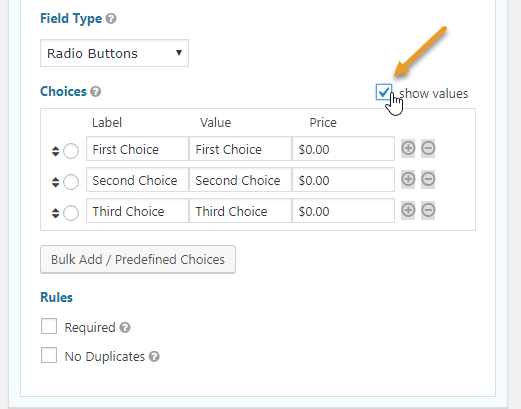
- Check the box for show values so that it would show both the value and the price of the choices.
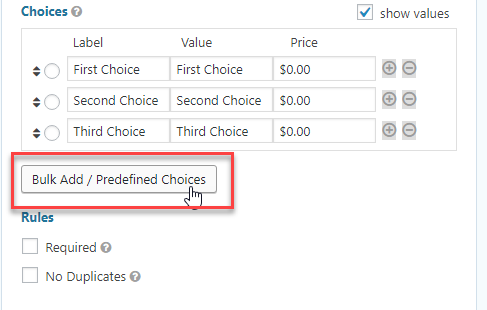
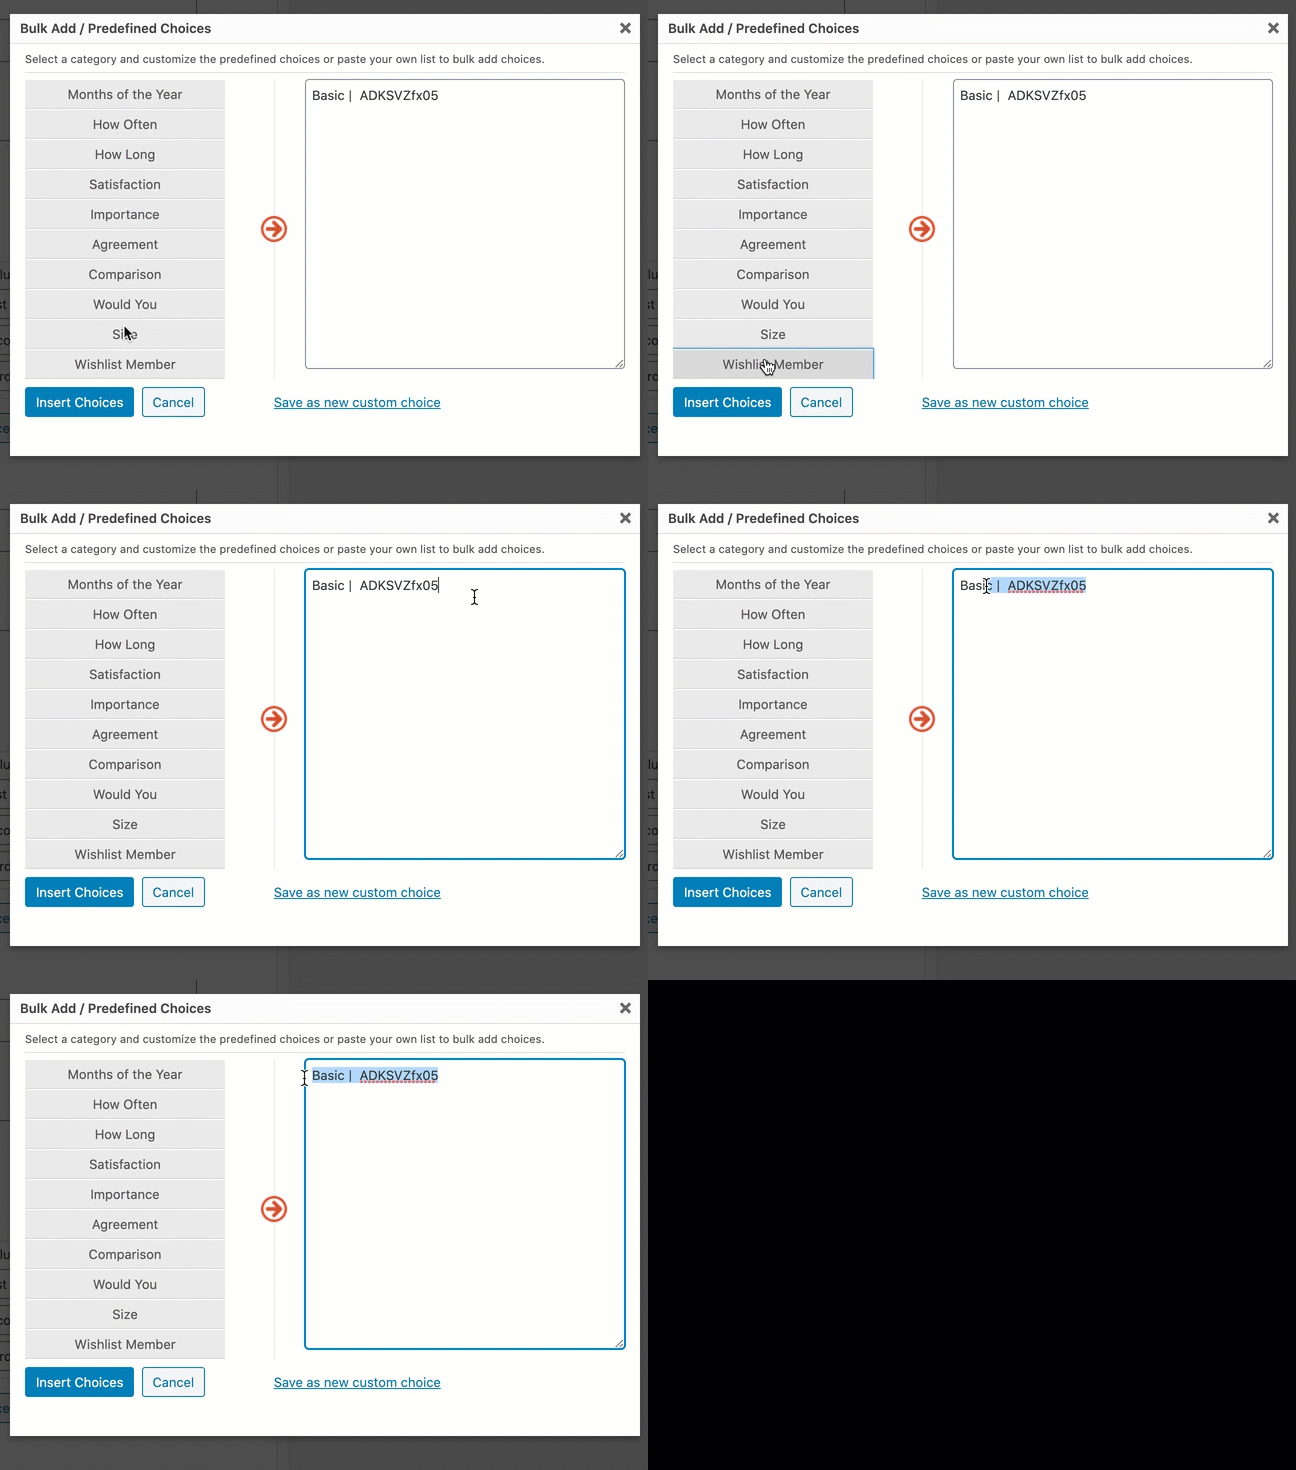
- Then, proceed with clicking on the Bulk Add/Predefined Choices – this would allow you to have access to the Wishlist Membership levels you have already set up as well as their specific ID.
- After clicking on the Bulk Add button, a new box will pop up, scroll down to Wishlist Member and select the memberships you’d want to add to your form. Drag your cursor all over those Wishlist Member levels and click on Insert Choices.
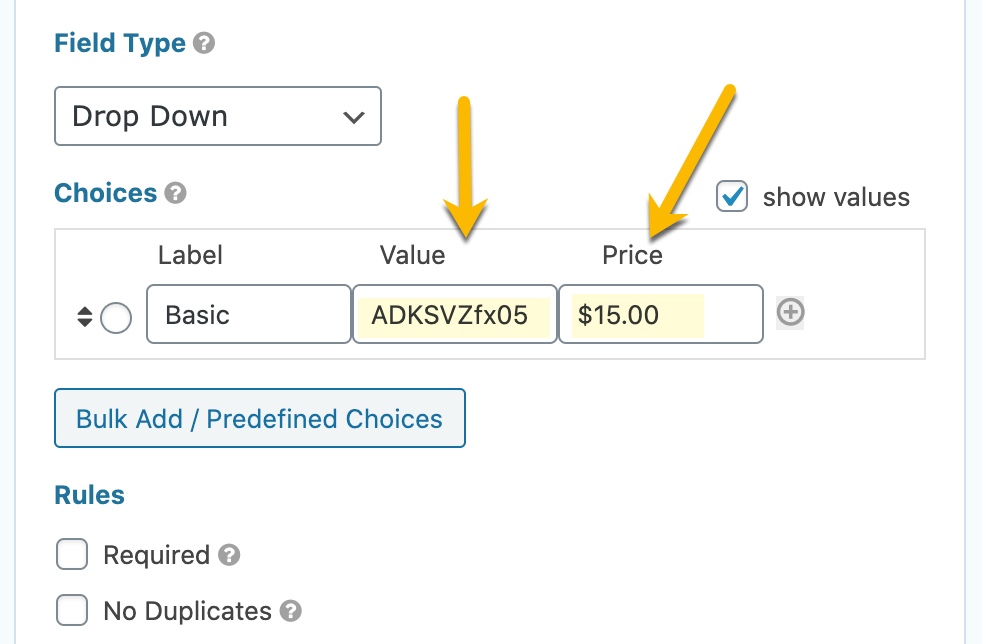
- Lastly, set up the prices. Please also make sure that the value is the slug of the membership level.
- Total
- Stripe Credit Card (optional – depending on they type of Payment collection method you’re using. Add this to your Gravity Form, if you’re using Stripe. For PayPal Standard you do not have to add a credit card field. )
- Add the Product field and then change it from Single Product to either Drop Down or Radio Button.
2. Set up your registration form’s Gravity Wishlist feed. To do this, go to your Form Settings and select Gravity Press.
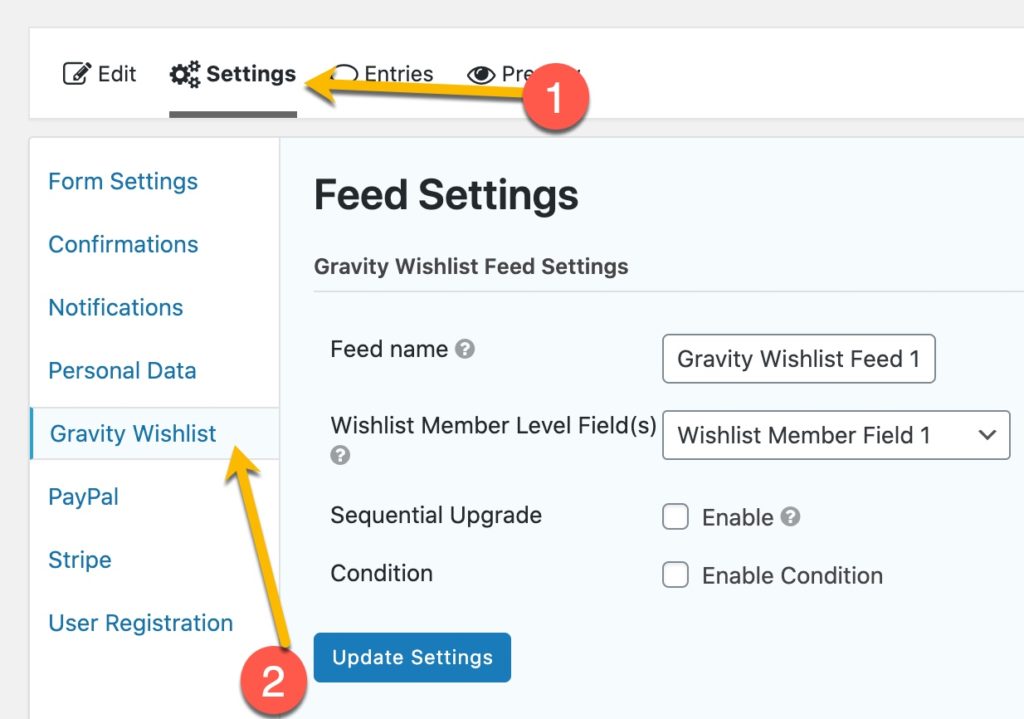
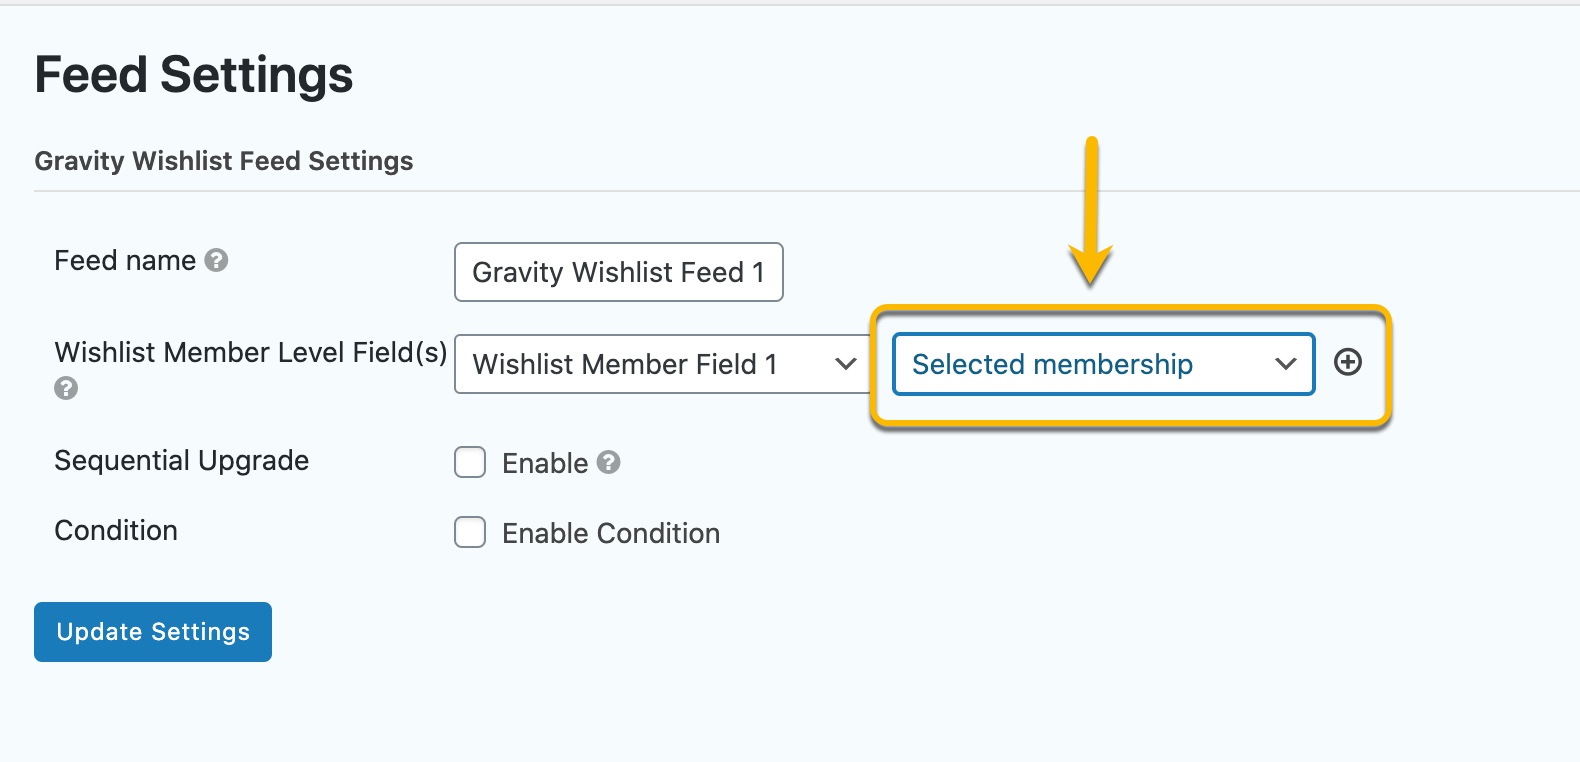
- Add a new feed. You do not have to add separate Wishlist Member Field for each Wishlist Member level you have since it’s already taken care of in the Product field you have previously created (if you have bulk added more than one Wishlist member level). In this example, I choose the field “Selected Membership” because this was the field label of the Product field I have created.
You can verify that the new feed you have set is Active if the toggle icon is green. You can simply disable it by clicking on the same icon.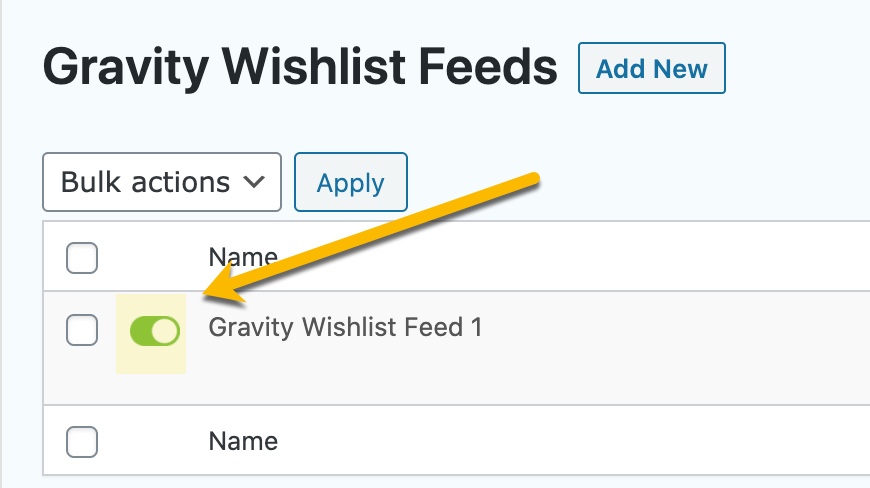
3. Create a feed to process the payment of your membership. You can use either Stripe or PayPal. As this membership is for one-time-payment Wishlist member levels, you need to select Products and Services as the transaction type.
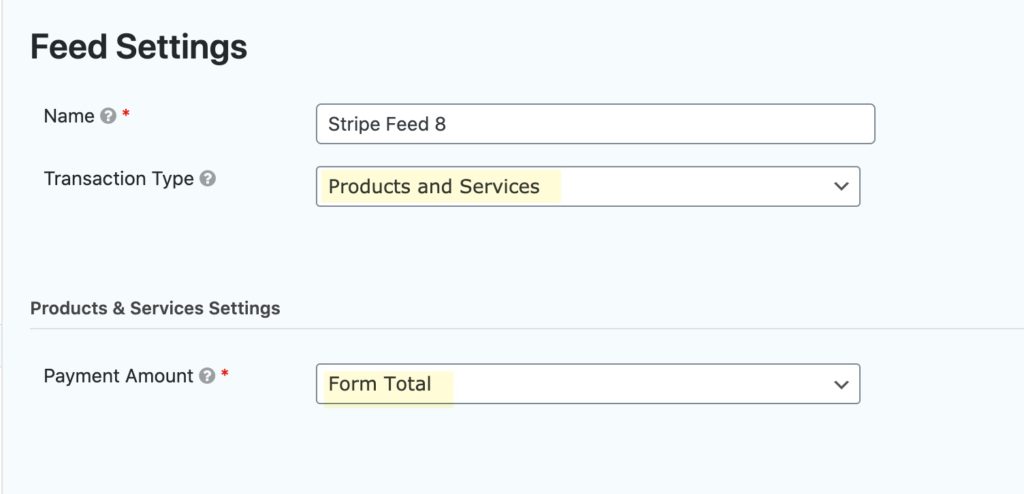
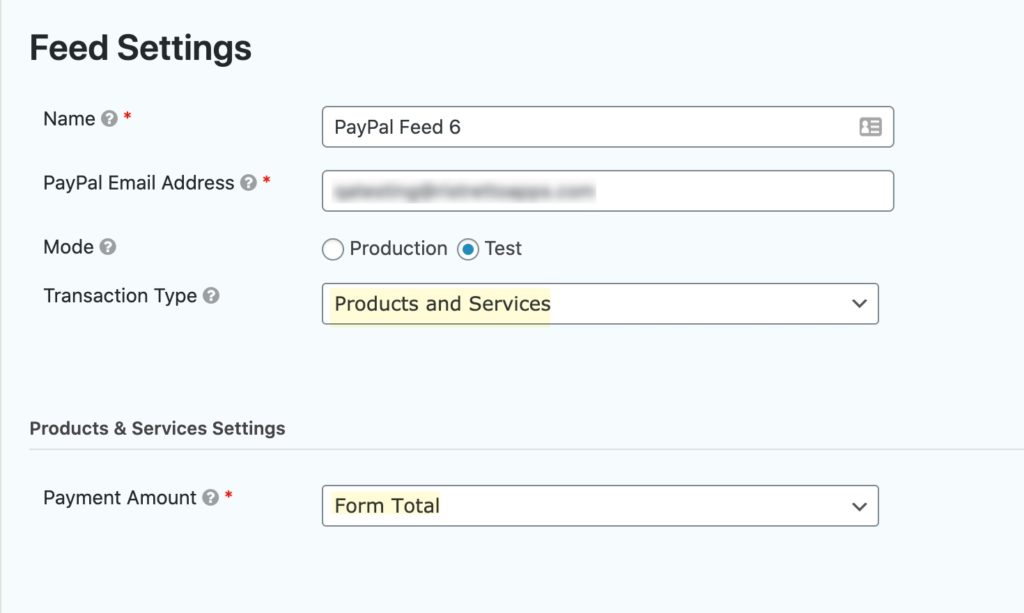
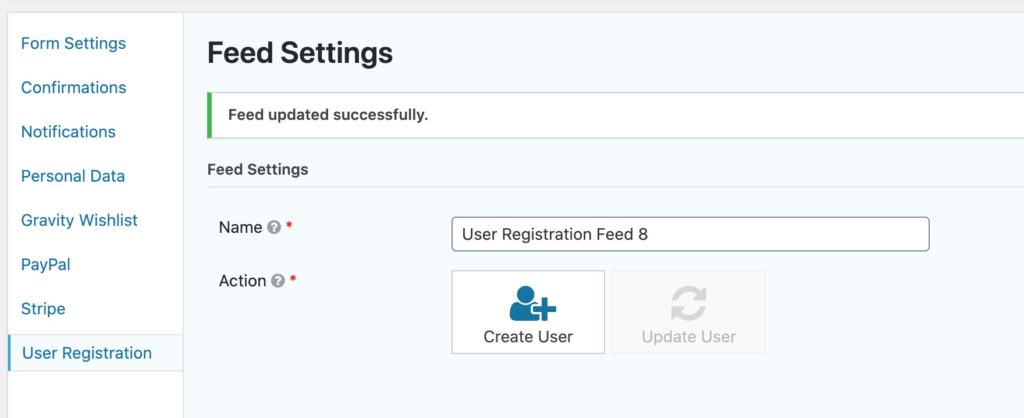
4. Lastly, create a new “User Registration” feed to register your new users. For more information on how to set up this add-on, please refer to this page or contact Gravity Forms tech support team as this is their support.
If you are using the form for logged in users, you need to create a conditional logic for your User Registration feed . More details here.
Now, you’re all set! If you have other questions or need further assistance in setting up your form, feel free to submit a ticket and we’d be happy to assist you.
