Gravity Forms to Google Drive – GDrive Uploader
Seamlessly upload files to Google Drive from Gravity Forms submissions
Transfer files uploaded via Gravity Forms directly to your Google Drive account without the need for any 3rd party integrator services. This is now possible with Gravity Forms GDrive File Uploader.
Video Overview
Requirements:
- Gravity Forms
- Successfully installed and activated Gravity Forms GDrive File Uploader
- Google Drive account
Once you have successfully installed and activated Gravity Forms GDrive File Uploader on your site, proceed with the following step-by-step instructions to set it up:
Connect Gravity Forms GDrive File Uploader to your Google Drive Account
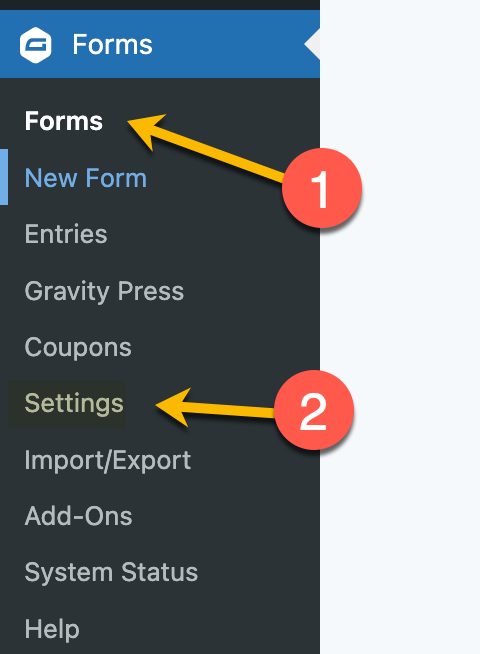
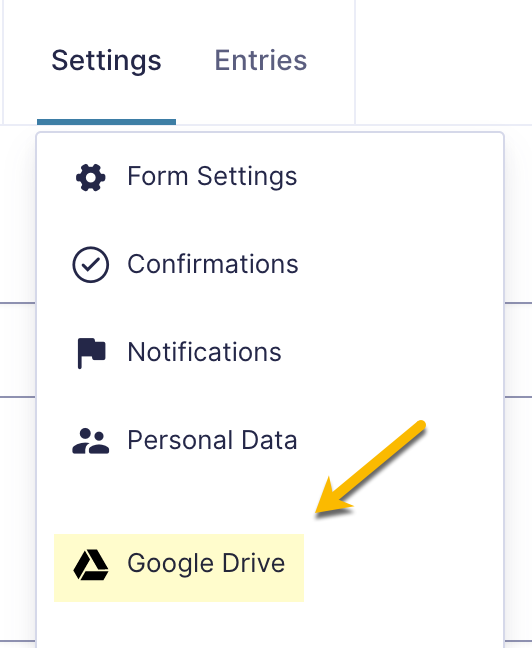
- Go to Forms on your Admin menu and click on Settings.
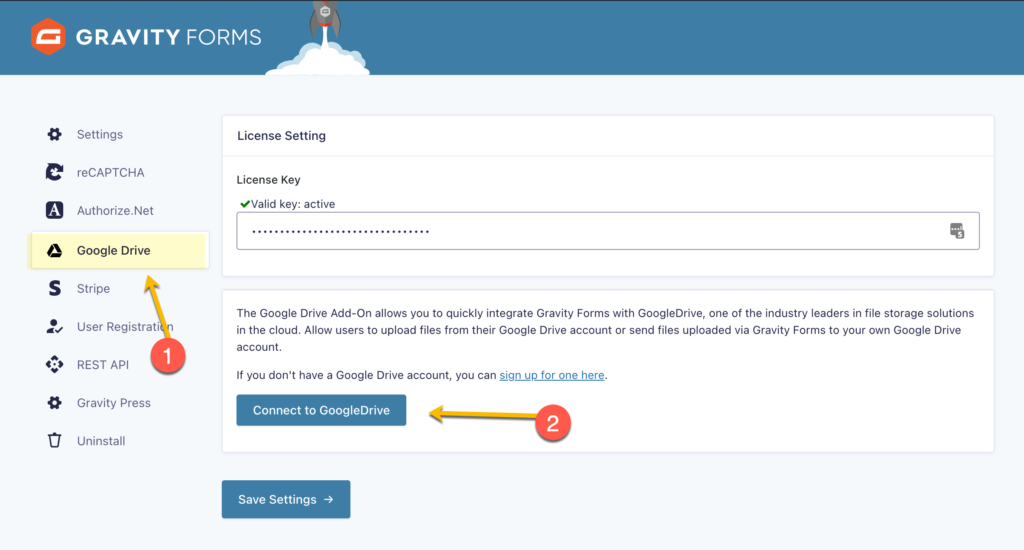
- Select Google Drive and click on Connect to Google Drive button.
- Select the Google Drive account you want your files to be transferred to.
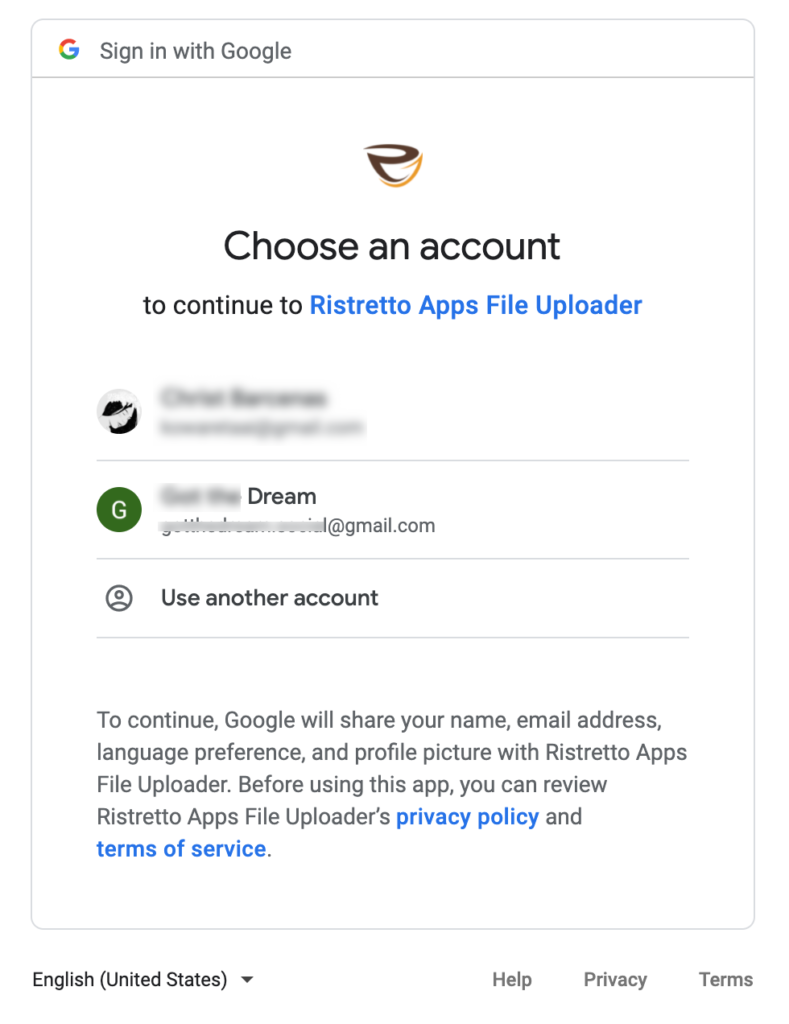
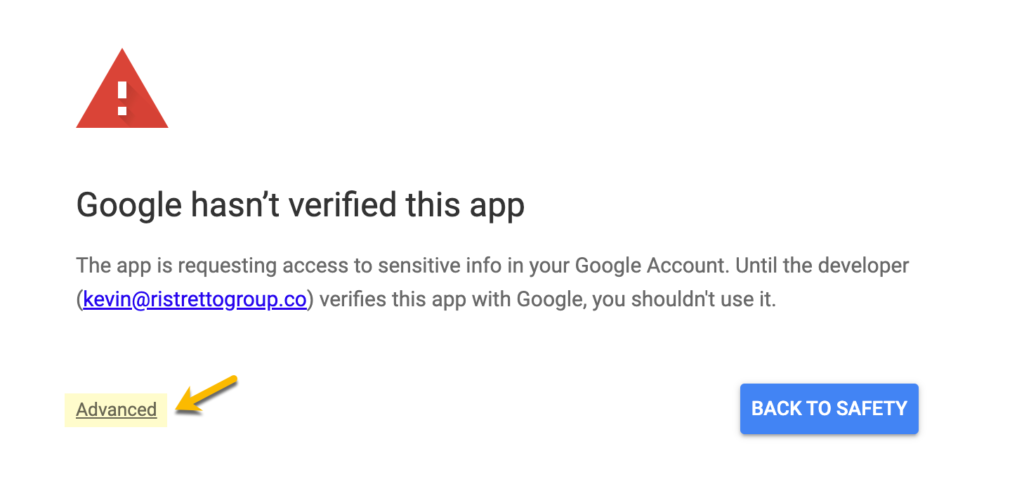
IMPORTANT: After selecting your Google Drive account, you might run into a warning message: “Google hasn’t verified this app.” Our developer team is now coordinating to get our app to be authorized by Google. In the meantime, proceed with clicking on the Advanced link to proceed with the integration.
On the next message, click on the link for Go to Ristretto Apps File Uploader (unsafe)
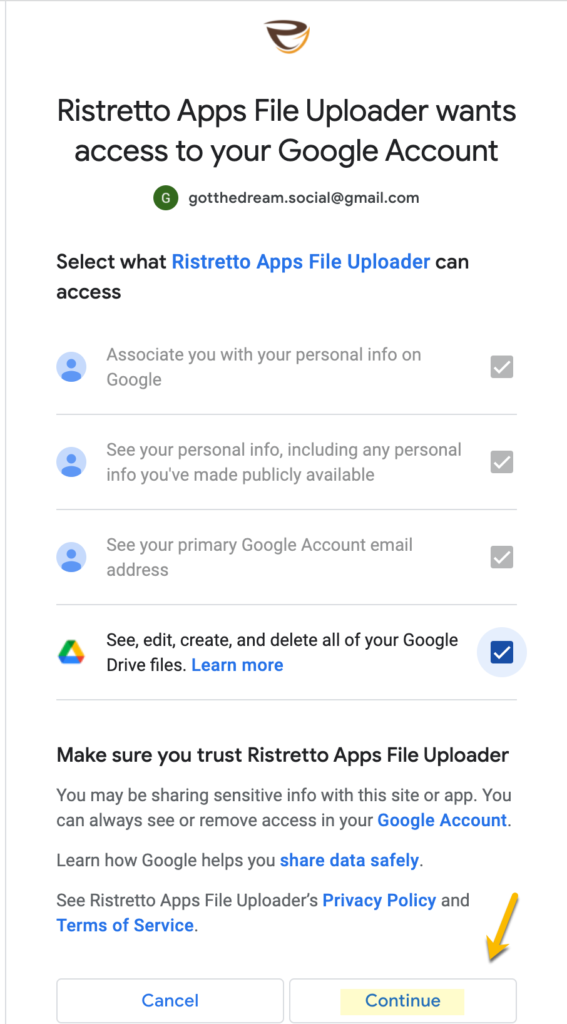
- Grant the app permission to access your Google account and click on Continue.
NOTE: We do not intercept any file/s that you upload to your Google Drive, all files uploaded to the Google drive are directly from your site.
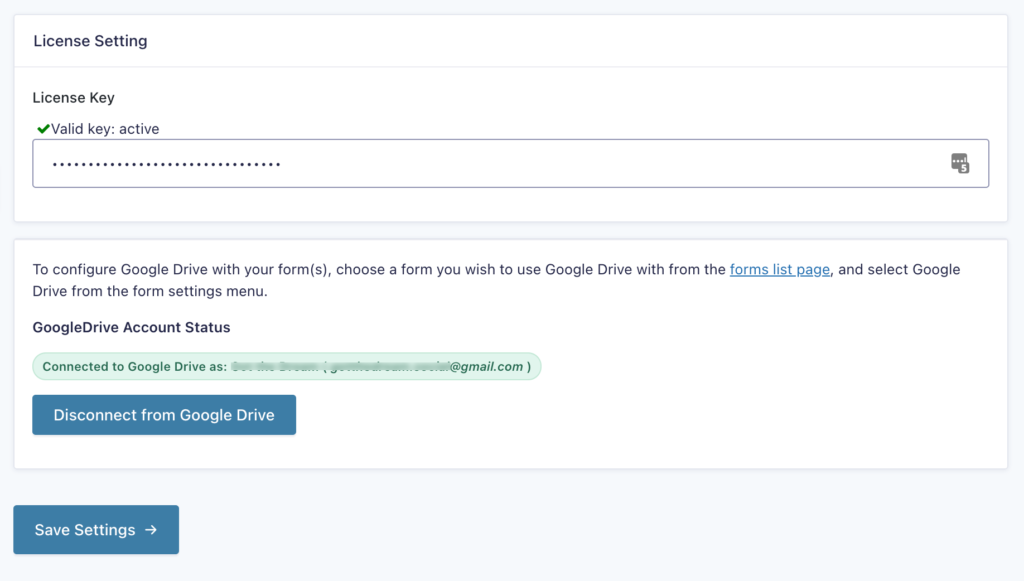
- After doing so, you will be redirected back to your Google Drive settings in Gravity Forms. It will now indicate that you have successfully connected the app to your Google Drive account and you can start creating your feed.
Creating a Feed for the GDrive File Uploader Add-On
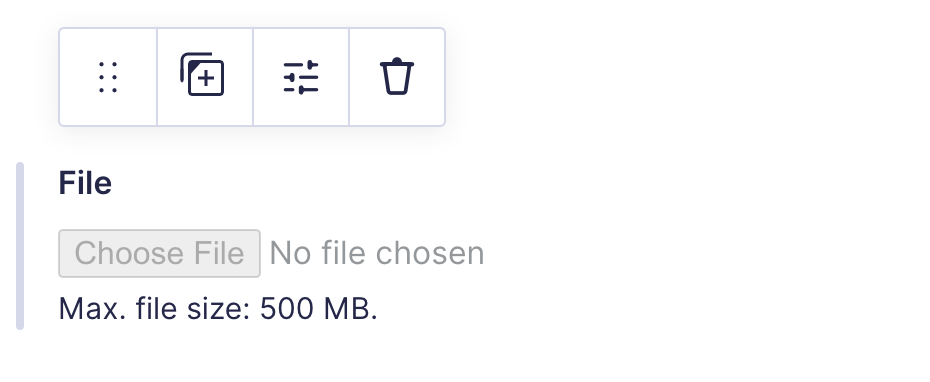
- Create your form and in your form, make sure to include a File Upload field to use the add-on.
- Once your form is set, proceed with creating and setting up your feed. Go to your Form Settings and select Google Drive.
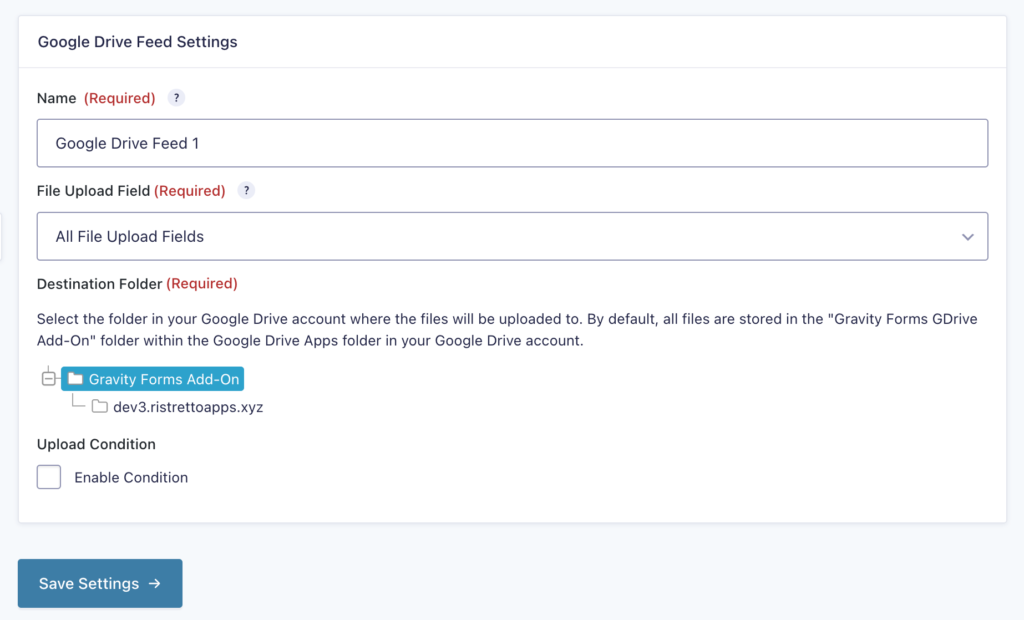
- Add a new feed and fill out the necessary fields.
- You are required to name your feed. It is only used for identification and will not be shown anywhere.
- The File Upload Field option lets you choose a specific file upload field to be used with Google Drive or allow all file upload fields in your form to transfer uploads automatically to Google Drive.
- The Destination Folder specifies the folder to where your uploads will be saved. At the moment, all uploads are automatically stored in the “Gravity Forms GDrive Add-On” folder; a folder automatically created after you have authorized and connected our plugin to your Google Drive account. You may create new folders within the Gravity Forms GDrive Add-on folder and specify the add-on to upload files to your chosen folder.
- Conditional Logic: If unchecked, every successful form submission will be sent to Google Drive. If you plan to set specific conditions for sending form data to Google Drive, then check the “Enable Condition” box and fill out your required conditions.
- Click the Save Settings button to save your options.