Introduction
Display Form Entries Pro allows you to customize the appearance of displayed form entries directly within the WordPress block editor.
Using the styling controls, you can adjust:
- Background colors
- Borders and border radius
- Spacing and layout
- Font size and typography
- Label and value styling
These controls allow you to match the entry display with your website’s design without writing any custom CSS.
Requirements
Before customizing styling:
- Gravity Forms must be installed
- Display Form Entries Pro must be activated
- A page must already contain the Display Form Entries block

Accessing the Styling Controls
Follow these steps to access the styling settings.
Step 1 — Edit the Page
- Go to the page where the entries are displayed.
- Open the page in the WordPress block editor (Gutenberg).
- Select the Display Form Entries block.
Step 2 — Open the Style Tabs
In the block settings panel on the right, you will see several tabs:
- Content
- Style
- Spacing
- Typography
These tabs contain all available display customization options.

Styling the Container
The container controls the main box that wraps the displayed entries.
Background Color
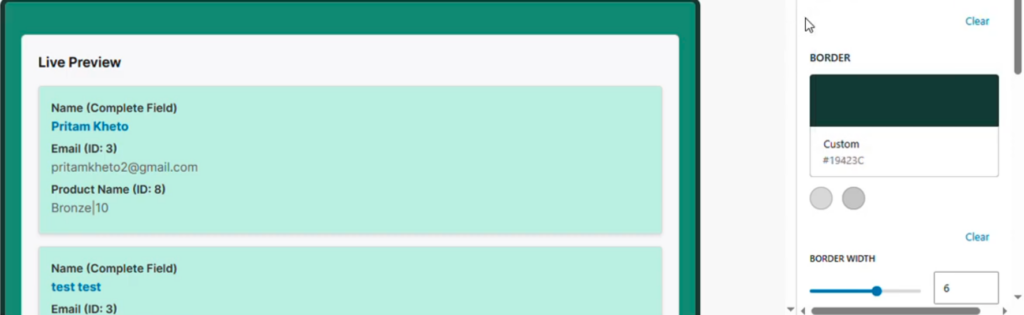
You can change the container background color using the color picker.
This allows the entry display to blend with your page design.
Example uses:
- Light background for directories
- Dark background for featured sections
Border Color
You can customize the border color surrounding the container.
This helps visually separate the entry display from other page elements.
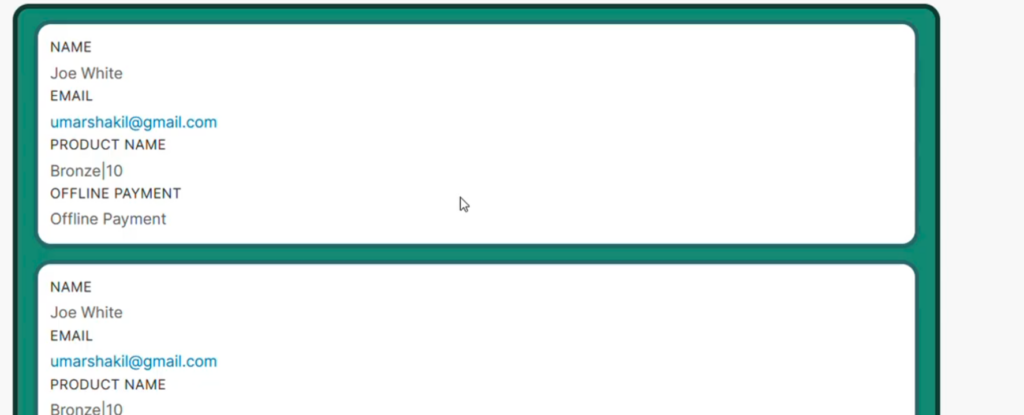
Border Width
You can adjust how thick the border appears.
The border width can be increased using the slider.
Example:
Border width: 7px
Border Radius
Border radius controls how rounded the corners of the container appear.
Example:
Border radius: 20px
This creates a softer, modern layout style.
Styling Entry Items
In addition to the container styling, you can customize the appearance of individual entries.
This includes:
- Item background colors
- Entry borders
- List display styling
These settings help differentiate each entry within a list or directory layout.
Adjusting Spacing
The Spacing tab controls the layout spacing around the entries.
You can adjust:
- Top spacing
- Bottom spacing
- Internal padding
For example:
Increasing bottom spacing helps create more visual separation between entries.
Typography Settings
The Typography tab allows you to customize the text styling of the entry fields.
This includes both labels and values.
Label Typography
Labels refer to field names such as:
- Name
- Product name
You can adjust:
- Font size
- Font weight
- Label color
Changes are displayed in live preview while editing.
Value Typography
Values refer to the actual submitted data, such as:
- A user’s name
- Email address
- Selected product
You can customize:
- Font size
- Color
- Typography styling
These settings allow important information to stand out.
Live Preview
All styling adjustments appear immediately in the block preview.
This allows you to experiment with different visual styles before saving the page.
Saving Your Changes
After adjusting the styling settings:
- Click Save or Update.
- View the page on the frontend to see the updated design.
Example Use Case
Directory Layout
A website displays a directory of registered members.
Using styling controls, the site owner can:
- Add a light background to the directory container
- Increase border radius for a modern card layout
- Increase font size for important fields
- Adjust spacing to improve readability
This improves both usability and visual consistency.
Best Practices
• Match styling with your website theme.
• Avoid using too many colors that distract from the data.
• Use border radius and spacing to create clean layouts.
• Test your layout on different screen sizes.
Troubleshooting
Styling changes are not appearing
Check the following:
- The Display Form Entries block is selected when editing.
- The page has been saved or updated.
Text appears too large or too small
Adjust the font size in the Typography tab to improve readability.